Lesson 1: Creating and running your first lite-C script
Welcome! This course will teach you the basics of lite-C, Gamestudio's programming language. As you can probably guess, lite-C is a subset of the C programming language, so if you know a bit of C or even some JavaScript, it will be of great help.
The first lesson will teach us how to download Gamestudio, install it, create and run our very first lite-C script. Then, we will go through each line of code to understand what it does. So, let's get started!
First of all, download Gamestudio from here:
http://www.conitec.net/english/gstudio/download.php
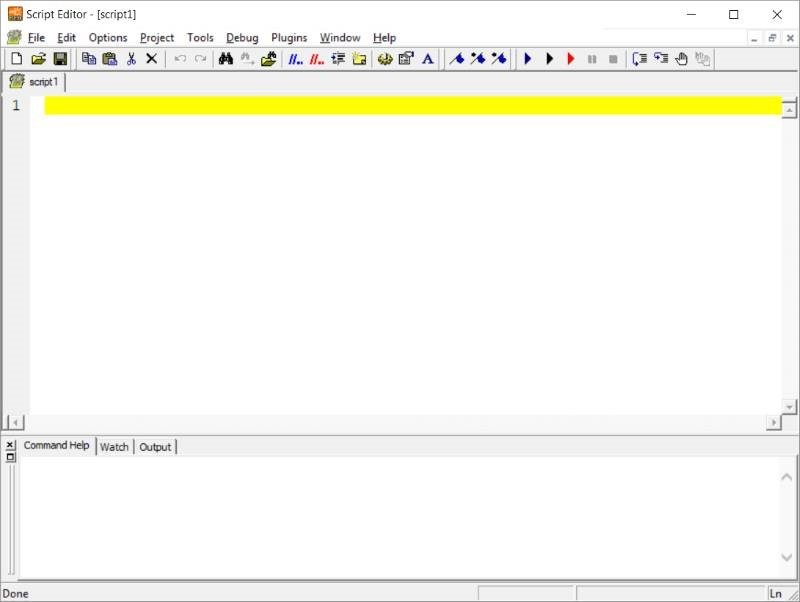
Double click the executable file to install it, and then open the script editor - SED. If everything works as expected, you will be greeted with a screen that looks like this.
Aren't you anxious to see the engine in action? Then, copy/paste the code below in the blank script file.
#include
ENTITY* cube;
function main()
{
level_load(NULL);
cube = ent_create(CUBE_MDL, nullvector, NULL);
camera.pan += 90;
vec_set(camera.x,vector(0, -50, 0));
}
function cube_startup()
{
while (1)
{
if (key_cul)
cube.pan -= 2 * time_step;
if (key_cur)
cube.pan += 2 * time_step;
wait (1);
}
}
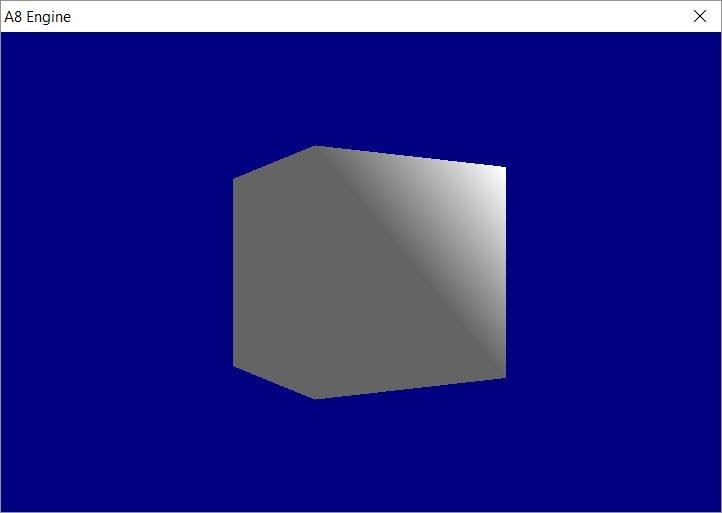
Hit the black "Play" button at the top of the screen and you will see a cube in its full 3D splendor ;)
Use the left and right cursor/arrow keys to rotate the cube around its horizontal axis.
Let's discuss what each line of code does, shall we?
#include
ENTITY* cube;
Okay, so the first line of code tells our script to include the standard engine library. For some strange reason, Gamestudio's makers have named that library "acknex". Anyway, this line must be included in any project; otherwise, the engine won't run.
The next line defines an entity pointer. An entity is an object that can perform an action: movement, mesh deformation, and so on. So, this line of code will help us give our cube the name "cube" later on.
Each line of code inside function main() is executed when we click the "Play" button. Here's the content of the function:
function main()
{
level_load(NULL);
cube = ent_create(CUBE_MDL, nullvector, NULL);
camera.pan += 90;
vec_set(camera.x,vector(0, -50, 0));
}
The first line of code loads an empty level. The second one assigns our previously defined entity pointer to the newly created cube. In other words, as soon as this line of code is executed, we can control the cube on the screen by using the name "cube" for it. We could write a line of code that looks like this, for example:
cube.z = 1000;
And our cube would be placed 1,000 units in the air, because we have altered its vertical (z) coordinate, get it?
Then, we set the proper camera orientation and position. We want to be as close as possible to the cube, so we are placing the camera 50 units (quants) behind it.
function cube_startup()
{
while (1)
{
if (key_cul)
cube.pan -= 2 * time_step;
if (key_cur)
cube.pan += 2 * time_step;
wait (1);
}
}
The last function is a "startup" function. If this word is included in a function name, that particular function will start running on its own as soon as the engine starts. The function won't ever stop, because while (1) tells it to run for as long as 1 = 1.
Then, we've got two similar sets of instructions which tell the cube to change its pan (rotation) angle when the player presses the left and right cursor keys.
And all of this was done with less than 20 lines of code! I hope that you see and understand the huge power of Gamestudio. It's my favorite tool when it come to create quick game prototypes.
I'll see you in the next lesson! Don't forget to play with the code until then; change all the numerical values, one at a time, and see what happens.