WELCOME!
My name is Jason Hensley. I teach students how to build great games for a living.
This website shows a few of my courses. Contact me to get access to the entire library, or hire my one-on-one gamedev services for your next game project. I am proficient with all the top game engines: Unreal, Unity, Gamestudio, etc.
COURSE SAMPLES
Working with Unity 3D
Course outline:
- Lesson 1: Installing, running and examining Unity projects
- Lesson 2: Creating a basic game scene
- Lesson 3: Running our game
- Lesson 4: Managing game assets
- Lesson 5: Working with prefabs
- Lesson 6: Passive and active physics
- Lesson 7: Handling collisions
- Lesson 8: Player movement
- Lesson 9: Playing audio
- Lesson 10: Using materials
Lesson1: Installing, running and examining Unity projects
Welcome! This course will teach you how to use one of the most powerful and versatile game platforms ever: Unity. This engine has powered thousands of commercial titles that have landed on PlayStation systems, Xbox consoles, personal computers and mobile devices. Its powerful IDE allows you to create a game using your preferred platform/OS, and then build installation kits that will run fine on many other operating systems.
This lesson will discuss several basic Unity elements. We will download Unity, install it, create a new project, and then discover the role of each resource in our newly created project.
Unity can be downloaded from this link:
https://unity3d.com/get-unity/download
It's 100% free to download and use for individuals and companies which make less than $100k in annual gross revenues.
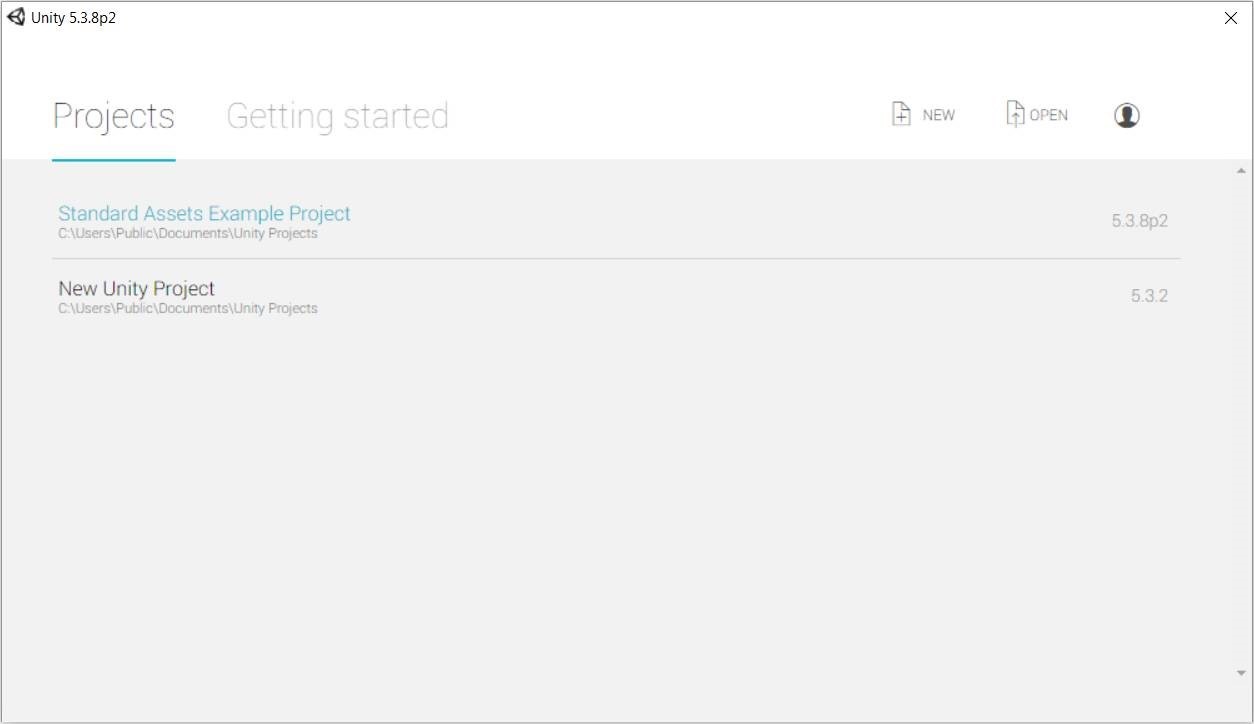
Download it, install it (it'll take a while), create a personal account, log in, and then run it. If all went well, your computer screen should display an image that looks like this.
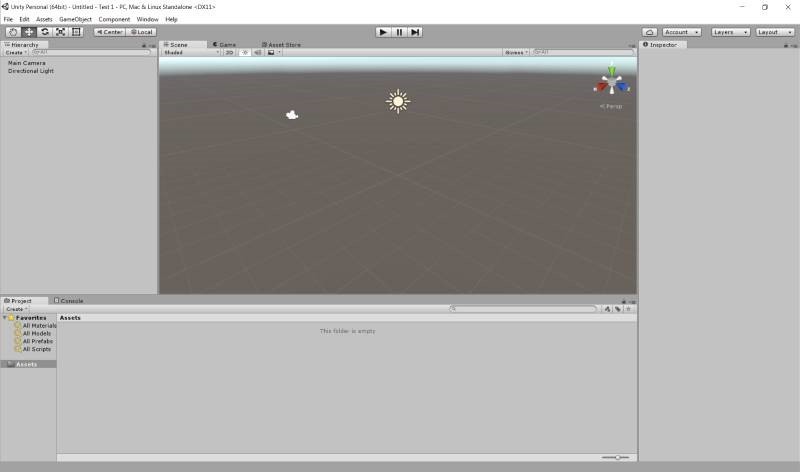
Click the "+New" button to get started, give your project a name (I'll name mine "Test 1") and then click the "Create project" button. Here's what I have gotten.
Unity incorporates a preview window, which allows us to see the level objects in full 3D before publishing our game. This is a huge time saver! 3D assets can either be imported from external resources, or generated by Unity itself.
You will see a list with all the project assets in the lower left corner of the screen. Right click the "Assets" folder, and then choose "Show in explorer" (for Windows computers) or "Reveal in finder" (if you run Unity on a Mac) to see the actual folder in your computer which includes all the project resources.
Your newly created project should contain these folders:
- "Assets" is the most important folder for us. It's the place to store game resource files (models, sprites, sounds, etc.) and access them.
- "Library" stores all our code, including any custom classes that we may have coded, etc.
- "ProjectSettings" is self-explanatory: it includes all your project's settings.
- "Temp" is a temporary folder, which stores all the temporary game builds. You won't need to examine this folder too often, but I thought that I should tell you what it does anyway.
Unlike 3DS Max or other similar programs that you may have worked with, Unity stores the game resources in a folder, which contains four subfolders. So, if you want to move your game project to another computer, you will need to copy the entire folder to the new machine.
This concludes our first "Working with Unity 3D" lesson. Stay tuned, because we will soon learn to create our first 3D game scene!