WELCOME!
My name is Jason Hensley. I teach students how to build great games for a living.
This website shows a few of my courses. Contact me to get access to the entire library, or hire my one-on-one gamedev services for your next game project. I am proficient with all the top game engines: Unreal, Unity, Gamestudio, etc.
COURSE SAMPLES
Sound Recording, Editing and Mixing with Audacity
Course outline:
- Lesson 1: Downloading, installing and running Audacity
- Lesson 2: Playback and transport
- Lesson 3: Navigation, zooming in and out
- Lesson 4: Working with tracks
- Lesson 5: Waveforms and spectrograms
- Lesson 6: How to record audio tracks
- Lesson 7: Editing basics
- Lesson 8: Improving existing audio
- Lesson 9: Using compression
- Lesson 10: Tools and plugins
- Lesson 11: Mixing music and sound for a game scene
Lesson1: Downloading, installing and running Audacity
Welcome! This course will teach you how to use the free Audacity application to edit and mix the sounds and music that will be used for your game.
We will begin by downloading and installing the software, and then we will create a new project. I will also show you some simple, and yet little-known Audacity tricks: how to control the cursor position using the keyboard, how to zoom in and out using shortcuts, how to manage multitrack projects, use spectrograms, work with mono and stereo sounds, and more.
Then, we will move on to more advanced stuff. We will learn how to move audio clips to the desired position on the timeline, how to record our own sounds and music using Audacity, and then how to turn an amateurish recording into one that sounds professional. (I guarantee that you are going to LOVE this part!)
I hope that you are at least as excited as I am, so let's begin!
First of all, Audacity can be downloaded from here:
https://www.audacityteam.org/download/
The "Download" menu entry at the top of the page provides installation kits that will run under Windows, Mac and Linux. The same link can be used to download plugins; the LADSPA, Nyquist, LV2 and VST formats are supported. Don't worry if you don't know what these acronyms means; we will discuss them all later on in the course.
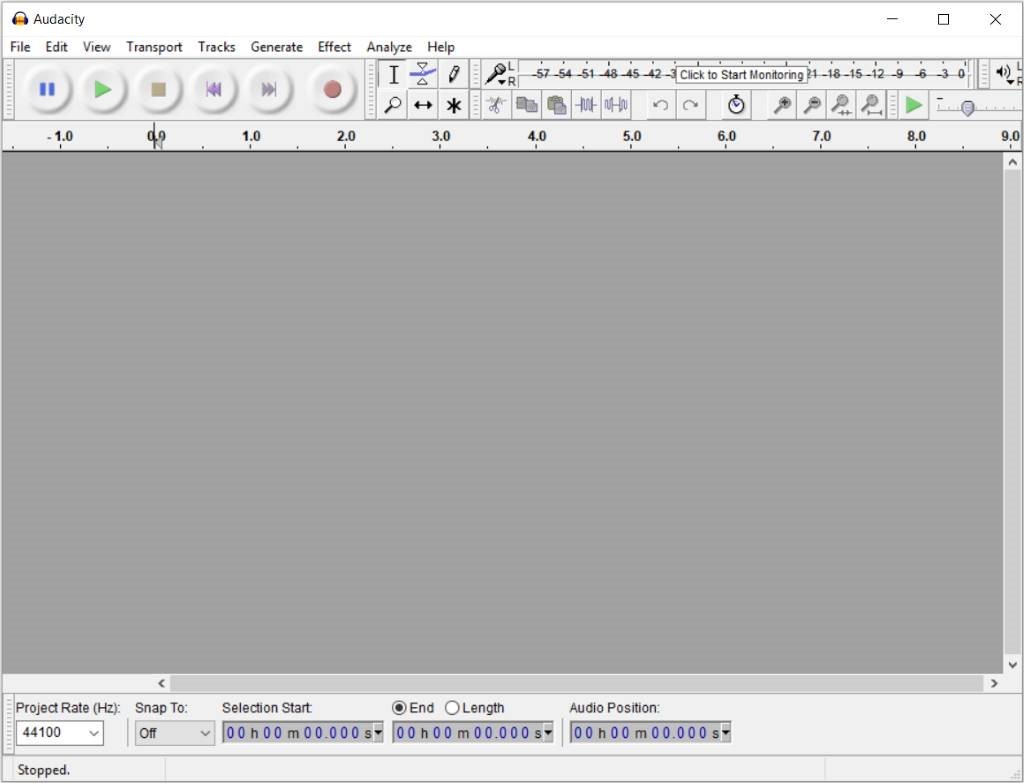
So, download the proper installation kit, and then run it to install the software. If everything goes as planned, you will see an "Audacity" icon on your desktop at the end of the process. Double click it to launch the application; your screen should look like the one in the picture below.